

Setup Multiple Ingress Gateways in Istio
How to setup Istio Ingress Gateways with internal and external Loadbalancer in Azure Kubernetes Service


When I was setting up Istio in my project, I came across a need to set up multiple Ingress Gateways. You may ask WHY?
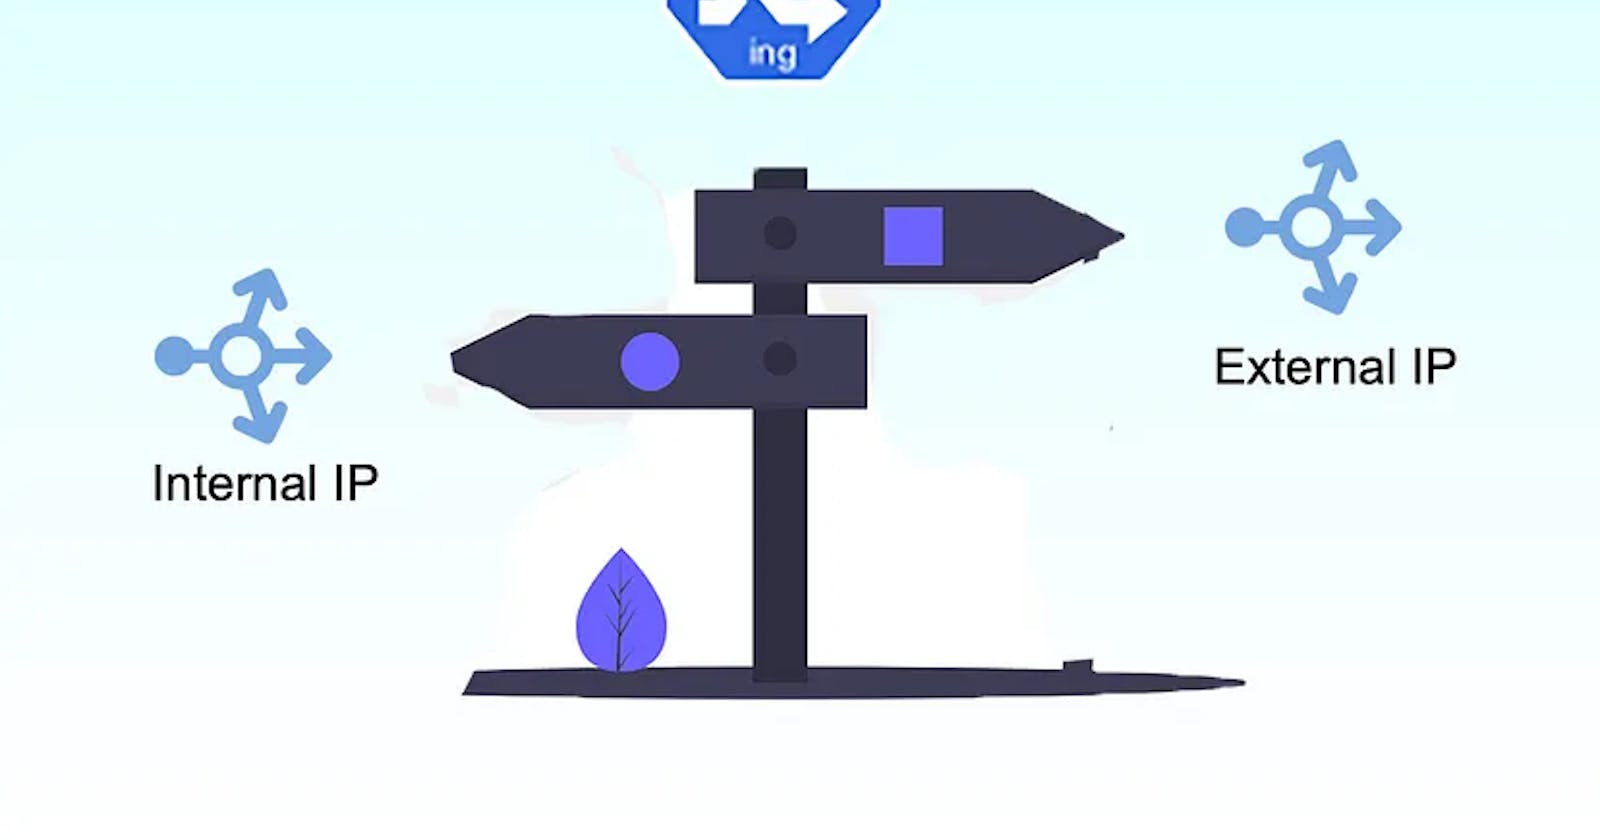
If we have multiple VNETS + NSG rules configured for our Kubernetes clusters and other cloud services then we may need Ingress Gateways with Internal and External IPs.
In my case, I had AKS private cluster and Azure Logic Apps with ISE. I had Istio Multi cluster installation(refer to my other https://hashnode.com/post/clqtwro5r000808jragxc0qzy for multi-cluster Istio setup), which had Istio Ingress Gateway with an External IP. But later I had to set up another Istio Ingress Gateway with Internal IP to enable connection with logic apps. It is a very practical scenario because we could have cloud services in different VNETs that are peered with each other. And then we need Gateway with Internal IP to enable service connection.
What we will learn?
In this article, we will see how to customize Istio installation to add a component with custom properties
We will set up an Ingress gateway with internal IP and standard Ingress gateway with external IP and validate the setup with an example application
Let’s start
We can install Istio using standalone operator installation. This method gives us a good way to customize the installation. A simple istio configuration may look like a code snippet shown below.
apiVersion: install.istio.io/v1alpha1
kind: IstioOperator
metadata:
  namespace: istio-system
  name: multiple-ingress-istiocontrolplane
spec:
  profile: default
  values:
    security:
      selfSigned: false
    global:
      controlPlaneSecurityEnabled: true
      mtls:
        enabled: true
      meshExpansion:
        enabled: true
  addonComponents:
    grafana:
      enabled: false
    kiali:
      enabled: true
    prometheus:
      enabled: true
This code snippet will setup istio with the default configuration of its components such as grafana, ingress gateway, etc.
What if we need to modify the default configuration of istio components?
The answer is simple — we can add the components configuration to the same yaml configuration that is shown above. We can generate yaml for istio profile using istioctl profile dump default This command will generate the complete profile dump for the default profile. This will be a very long yaml, so we need to search for a specific component to see the configuration.
💡 Tip! We also dump specific component configuration using istioctl profile dump — config-path components.ingressGateways default
Modify default properties of a component
We can use overlays object to modify the default properties of a component in istio configuration. For example in the code snippet shown below, we are modifying app labels
apiVersion: install.istio.io/v1alpha1
kind: IstioOperator
metadata:
  namespace: istio-system
  name: multiple-ingress-istiocontrolplane
spec:
  profile: default
  values:
    security:
      selfSigned: false
    global:
      controlPlaneSecurityEnabled: true
      mtls:
        enabled: true
      meshExpansion:
        enabled: true
  addonComponents:
    grafana:
      enabled: false
    kiali:
      enabled: true
    prometheus:
      enabled: true
  components:
      ingressGateways:
      - name: istio-internal-ingressgateway
        enabled: true
        k8s:
          overlays: # This object will modify default properties of the component
            - kind: HorizontalPodAutoscaler
              name: istio-internal-ingressgateway
              patches:
                - path: metadata.labels.app
                  value: istio-internal-ingressgateway
                - path: metadata.labels.istio
                  value: internal-ingressgateway
                - path: spec.scaleTargetRef.name
                  value: istio-internal-ingressgateway
            - kind: Deployment
              name: istio-internal-ingressgateway
              patches:
                - path: metadata.labels.app
                  value: istio-internal-ingressgateway  # Change the label to istio-internal-ingressgateway
                - path: metadata.labels.istio
                  value: internal-ingressgateway
                - path: spec.selector.matchLabels.app
                  value: istio-internal-ingressgateway
                - path: spec.selector.matchLabels.istio
                  value: internal-ingressgateway
                - path: spec.template.metadata.labels.app
                  value: istio-internal-ingressgateway
                - path: spec.template.metadata.labels.istio
                  value: internal-ingressgateway
            - kind: Service
              name: istio-internal-ingressgateway
              patches:
                - path: metadata.labels.app
                  value: istio-internal-ingressgateway
                - path: metadata.labels.istio
                  value: internal-ingressgateway
                - path: spec.selector.app
                  value: istio-internal-ingressgateway
                - path: spec.selector.istio
                  value: internal-ingressgateway
Create additional ingress gateway with internal IP
Now it’s time to add ingress gateway with internal IP. As I explained the use-case in the beginning, we need 2 gateways — one that has a public IP address and one that has an internal IP address, which is available only within peered VNETs. For Azure Kubernetes Service we need to use serviceAnnotations — service.beta.kubernetes.io/azure-load-balancer-internal: “true” to get an internal IP. You can read more about AKS internal load balancer from this link.
We also need to modify the default label to have a unique selector for both internal and external gateways. We can modify this using overlays objects described in the previous section.
The following configuration will create 2 ingress gateways — istio-internal-ingressgateway with internal IP and istio-ingressgateway with external IP.
apiVersion: install.istio.io/v1alpha1
kind: IstioOperator
metadata:
  namespace: istio-system
  name: multiple-ingress-istiocontrolplane
spec:
  profile: default
  values:
    security:
      selfSigned: false
    global:
      controlPlaneSecurityEnabled: true
      mtls:
        enabled: true
      meshExpansion:
        enabled: true
  addonComponents:
    grafana:
      enabled: false
    kiali:
      enabled: true
    prometheus:
      enabled: true
  components:
      ingressGateways:
      - name: istio-internal-ingressgateway
        enabled: true
        k8s:
          serviceAnnotations:
            service.beta.kubernetes.io/azure-load-balancer-internal: "true"
          hpaSpec:
            maxReplicas: 5
            metrics:
            - resource:
                name: cpu
                targetAverageUtilization: 80
              type: Resource
            minReplicas: 1
            scaleTargetRef:
              apiVersion: apps/v1
              kind: Deployment
              name: istio-internal-ingressgateway
          resources:
            limits:
              cpu: 2000m
              memory: 1024Mi
            requests:
              cpu: 100m
              memory: 128Mi
          strategy:
            rollingUpdate:
              maxSurge: 100%
              maxUnavailable: 25%
          overlays:
            - kind: HorizontalPodAutoscaler
              name: istio-internal-ingressgateway
              patches:
                - path: metadata.labels.app
                  value: istio-internal-ingressgateway
                - path: metadata.labels.istio
                  value: internal-ingressgateway
                - path: spec.scaleTargetRef.name
                  value: istio-internal-ingressgateway
            - kind: Deployment
              name: istio-internal-ingressgateway
              patches:
                - path: metadata.labels.app
                  value: istio-internal-ingressgateway
                - path: metadata.labels.istio
                  value: internal-ingressgateway
                - path: spec.selector.matchLabels.app
                  value: istio-internal-ingressgateway
                - path: spec.selector.matchLabels.istio
                  value: internal-ingressgateway
                - path: spec.template.metadata.labels.app
                  value: istio-internal-ingressgateway
                - path: spec.template.metadata.labels.istio
                  value: internal-ingressgateway
            - kind: Service
              name: istio-internal-ingressgateway
              patches:
                - path: metadata.labels.app
                  value: istio-internal-ingressgateway
                - path: metadata.labels.istio
                  value: internal-ingressgateway
                - path: spec.selector.app
                  value: istio-internal-ingressgateway
                - path: spec.selector.istio
                  value: internal-ingressgateway
      - name: istio-ingressgateway
        enabled: true
        k8s:
          hpaSpec:
            maxReplicas: 5
            metrics:
            - resource:
                name: cpu
                targetAverageUtilization: 80
              type: Resource
            minReplicas: 1
            scaleTargetRef:
              apiVersion: apps/v1
              kind: Deployment
              name: istio-ingressgateway
          resources:
            limits:
              cpu: 2000m
              memory: 1024Mi
            requests:
              cpu: 100m
              memory: 128Mi
          strategy:
            rollingUpdate:
              maxSurge: 100%
              maxUnavailable: 25%
Now we are all set to use both the ingress gateways. Check the IP address using the following command. You will see the internal IP address from istio-internal-ingressgateway
kubectl get svc -n istio-system
We can create a gateway object to use this internal ingress gateway
apiVersion: networking.istio.io/v1alpha3
kind: Gateway
metadata:
  name: mygateway
spec:
  selector:
    istio: istio-internal-ingressgateway # selector for internal
  servers:
  - port:
      number: 80
      name: http
      protocol: HTTP
 secret
    hosts:
    - "*"
Closing Remarks 🎉
I hope this article will help you with the multiple ingress controllers in Istio. Please feel free to share your feedback and experience in the comments section.